Introduction
Kid’s stickers are more than just colorful decals; they are tiny portals to imagination, tools for learning, and a source of endless fun for children. From adorning notebooks and lunchboxes to being rewards for good behavior, these sticky little artworks hold a special place in the world of childhood. The best part? Making your own kid’s stickers at home is an easy, affordable, and incredibly rewarding craft project that you can enjoy with your children.
This comprehensive guide will walk you through the simple process of creating custom kid’s stickers, explore their many creative uses, and highlight the significant developmental benefits they offer. Let’s dive into the wonderful, sticky world of kid’s stickers!
Part 1: How to Make Your Own Kid’s Stickers at Home
Creating homemade kid’s stickers is a fantastic DIY activity. It allows kids to see their own drawings and ideas transformed into something they can use and share. Here are two simple methods to get you started.
Method 1: The Classic Paper and Tape Method
This is the easiest and most accessible way to make stickers, perfect for a quick project with younger children.
What You’ll Need:
- Kid’s drawings or colored pictures from magazines
- Scissors (safety scissors for little ones)
- Clear packing tape
- Parchment paper or wax paper (for backing)
Steps:
- Create the Art: Have your child draw their favorite characters, shapes, animals, or patterns on a piece of paper. Crayons, markers, or colored pencils all work well. Alternatively, you can print out coloring pages they’ve filled in.
- Cut it Out: Carefully cut out the drawings. For complex shapes, an adult can help.
- Apply the Tape: Cut a piece of clear packing tape that is larger than the drawing. Place the tape sticky-side down over the front of the drawing, smoothing it out to avoid air bubbles. This laminates the artwork and creates the sticky surface.
- Create the Backing: Place the taped drawing onto a small piece of parchment paper. This prevents it from sticking to everything before it’s ready to use.
- Trim the Edges: Cut around the drawing, leaving a small border of tape to ensure it’s fully sealed. Your homemade sticker is now ready!
Method 2: The Printable Sticker Paper Method
For a more professional and durable result, printable sticker paper is a game-changer.
What You’ll Need:
- A computer and printer (inkjet or laser)
- Printable sticker paper (available online or at craft stores)
- Scissors or a craft cutter (like Cricut or Silhouette)
- Your child’s digital artwork or designs
Steps:
- Design Your Stickers: Scan your child’s artwork or help them create designs using a simple computer program. You can also find countless free kid’s sticker templates online.
- Prepare the Sheet: Open a document and arrange your designs on the digital representation of the sticker sheet. Leave a little space between each design for cutting.
- Print: Load the sticker paper into your printer according to the manufacturer’s instructions. Print your designs.
- Let it Dry: Allow the ink to dry completely to prevent smudging.
- Cut and Peel: Carefully cut out each sticker. If you have a craft cutter, this step becomes fast and precise. Once cut, peel off the backing paper and apply!
Part 2: Creative Uses for Kid’s Stickers
The possibilities for kid’s stickers are nearly limitless. Here are some fun and educational ways to use them:
- Reward Systems: Create a “sticker chart” for chores, good behavior, or potty training. Earning a sticker provides a powerful visual reward and sense of accomplishment.
- Storytelling and Scenes: Use stickers to create scenes on a large piece of paper. Kids can place animal stickers in a jungle scene or vehicle stickers on a city map, narrating a story as they go.
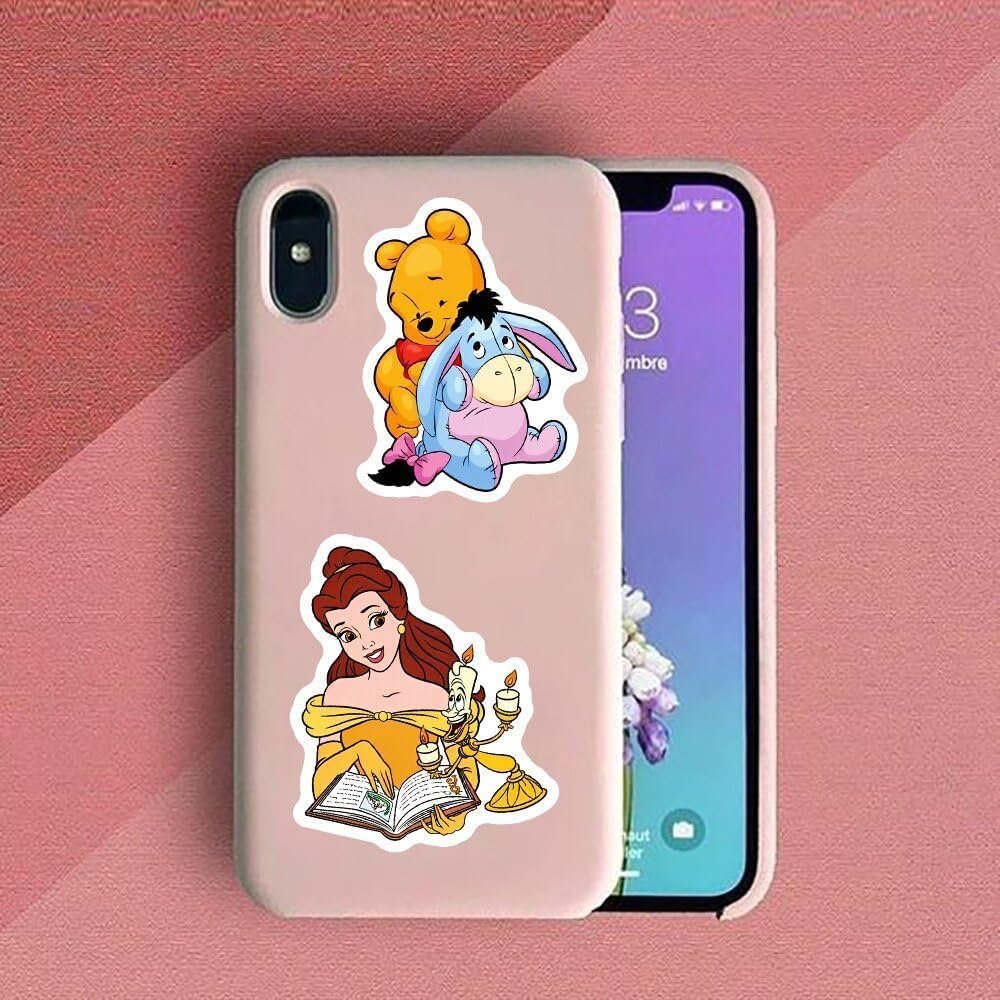
- Personalizing Belongings: Let your child decorate their water bottles, lunchboxes, school binders, and helmets with their favorite homemade stickers. It helps them easily identify their property and adds a personal touch.
- Learning Tools:
- Counting: Use a set of identical stickers for counting exercises.
- Letter Recognition: Place stickers on objects that start with a specific letter (e.g., a “B” sticker on a ball).
- Sorting: Have children sort stickers by color, shape, or category (animals, food, vehicles).
- Greeting Cards and Art: Use stickers to create beautiful, personalized greeting cards for family and friends or to embellish drawings and paintings.
- Travel Entertainment: A sheet of stickers and a notebook are a quiet, mess-free activity for keeping kids busy in cars, on planes, or at restaurants.
Part 3: The Surprising Benefits of Kid’s Stickers
Beyond the fun, engaging with kid’s stickers offers a wealth of developmental advantages.
1. Fine Motor Skill Development:
The act of peeling a sticker off its backing requires a pincer grasp (using the thumb and forefinger), which is crucial for developing the hand muscles needed for writing, buttoning clothes, and using utensils. Placing the sticker carefully also enhances hand-eye coordination.
2. Boosts Creativity and Self-Expression:
Whether they are designing their own stickers or choosing where to place them, children are making creative decisions. This process allows them to express their personality, ideas, and emotions in a tangible way.
3. Encourages Cognitive Development:
Stickers are excellent for early learning concepts. As mentioned, they can be used for sorting, counting, and learning letters. Furthermore, creating stories with stickers fosters narrative thinking and sequencing skills.
4. Promotes Independence and Confidence:
Completing a sticker chart or successfully creating and applying their own sticker gives a child a tremendous sense of pride and achievement. It’s a visual representation of their capabilities, building self-esteem.
5. Provides a Calming, Focused Activity:
The focused nature of peeling and placing stickers can be a very calming and therapeutic activity for children. It can help them develop concentration and provide a quiet-time outlet for their energy.
Conclusion
Kid’s stickers are a simple pleasure packed with powerful potential. They bridge the gap between play and learning, creativity and skill development. By taking the time to make your own kid’s stickers, you’re not just creating a craft; you’re creating opportunities for connection, growth, and joy. So, gather some paper, tape, and markers, and get ready to unleash your child’s inner artist. The world could always use a few more unique, colorful, and wonderfully sticky creations.